Speed Cache: Installation
1. Install
Our component is compatible with Joomla 3.9 and 4.x. All the features and 3rd party integrations are included in all memberships.
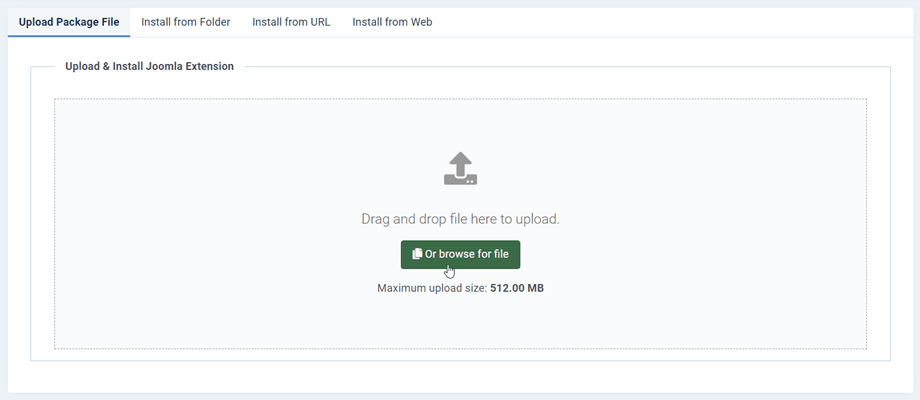
In order to install our component, you have to download the extension .zip file and use standard Joomla installer.
2. Update & automatic updater
In order to update the extension, you can install a new version over the old one by downloading the ZIP file from JoomUnited or using the automatic updater (recommended).
The automatic updater, which pushes the update notification, is embedded in the Joomla extension you've installed. So you'll get notified like any other extension in the dashboard or using the menu: System > Update > Extensions.
Login to your account to update
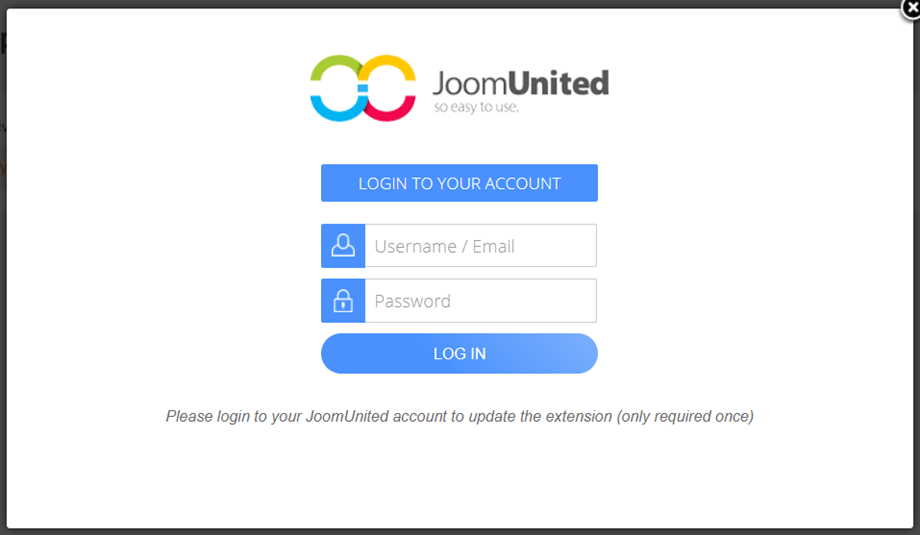
You need to log in to your JoomUnited account to update all your JoomUnited Joomla extensions. In order to log in, access the main configuration of the component then navigate to the Live updates tab. On the main panel, you'll find a login button.
Enter your JoomUnited credentials, the same you use to login here @ www.joomunited.com
The text on the button will be changed, congrats! You can now update all the JoomUnited extensions on this website! If your membership is expired you'll get a renew link and a text explaining that.


