How to Create Folders in WordPress Media Library

Creating folders in the WordPress media library is a great way to organize your files efficiently, especially when your media library starts getting cluttered. Managing numerous media files can be challenging, particularly when everything is mixed up without a clear structure. Fortunately, organizing them with folders makes finding, managing, and reusing files easier. If you're wondering how to create folders in the WordPress media library, this article will help you understand its benefits and walk you through the steps.
In this guide, we'll cover why organizing media with folders is important, the best WordPress plugins you can use, and a step-by-step process for creating folders in the WordPress media library. With a more structured system, you can save time and work more efficiently when managing your site's content.
Table of content
Benefits of Organization your Media Management

Organizing your media library can provide efficiency, faster workflow, and better content management. Creating folders in your WordPress media library allows you to find, manage, and reuse hassle-free files easily. Here are the reasons why organizing your media files can make a big difference:
- Easier file navigation - No more scrolling to find a specific image or document. With folders, you can categorize files logically, making searches quicker and more efficient.
- Improved workflow and productivity – Whether you're a blogger, designer, or business owner, a well-structured media library helps speed up content creation and website management. You won't waste time hunting for the right file.
- Prevents duplicate uploads – It's easy to upload the same file multiple times without proper organization, wasting storage space. With folders, you can see what's already available and avoid unnecessary duplicates.
- Better site performance – An organized media library reduces unnecessary files, helping to optimize your website's performance. Cleaner media management means less clutter, which can contribute to faster loading times.
By structuring your media library properly, you make your WordPress site more manageable and professional, allowing you to focus on what truly matters—creating great content.
Say goodbye to messy media library.
WP Media Folder lets you categorize files, sync folders with
cloud storage, create amazing galleries and even
replace images without breaking links.
Optimize your media workflow today
Best Plugin Folder Management WordPress You Can Use
Managing folders and files in WordPress can become overwhelming, especially when your media library starts filling up with hundreds or thousands of images, videos, and documents. Fortunately, various WordPress media library plugins can help you create and organize folders, making content management much more efficient. One of the best solutions available is WP Media Folder by JoomUnited, a feature-rich plugin that simplifies media organization while offering advanced functionalities.
WP Media Folder stands out for its unique combination of virtual and real media folders. It allows users to import and sync folders from their server, meaning you can organize files uploaded via FTP without hassle. Additionally, the plugin lets you migrate virtual folders to real folders on your server, ensuring long-term file organization.
If you have many media files, WP Media Folder provides multiple sorting options, including file type, size, title, and custom order. One of its biggest advantages is that uninstalling the plugin won't affect your media files. Even if you move files between folders, existing links won't break, preventing any issues with missing media.
Key features of WP Media Folder
- Organize media with virtual folders – WP Media Folder enables you to create virtual folders, making it easier to categorize and manage files without altering their storage location.
- User-friendly drag-and-drop system – Effortlessly move and arrange files using an intuitive feature, simplifying media organization.
- Smart sorting and filtering options – Quickly locate specific files by sorting them based on type, size, name, or a custom order.
- Seamless gallery creation – Easily generate galleries from media folders, streamlining the process of showcasing images on your site.
- Integrated cloud storage support – Integrate your media library with Google Drive, Dropbox, OneDrive, Google Photos, and Amazon S3 for seamless access to cloud-based files.
- Import files and folders from FTP - This lets you directly import media from your server, making file transfers and organization more convenient.
- Convert virtual folders into real directories – If needed, transform virtual media folders into actual directories on your server for better long-term storage.
With WP Media Folder, managing your WordPress media library becomes far more structured and efficient. This plugin is worth considering if you're looking for a reliable solution to keep your files organized.
Step-by-step to Create Folders in WordPress Media Library
Now that we know WP Media Library's features, we'll try using the plugin to create and organize folders in WordPress Media Library. Here are the steps.
Step 1: Install & activate plugin
First, ensure you've subscribed to the WP Media Folder plugin and received the zip file. Then, to install the plugin, you can either use the standard WordPress installer or extract the zip file and move the entire folder into the /wp-content/plugins directory.
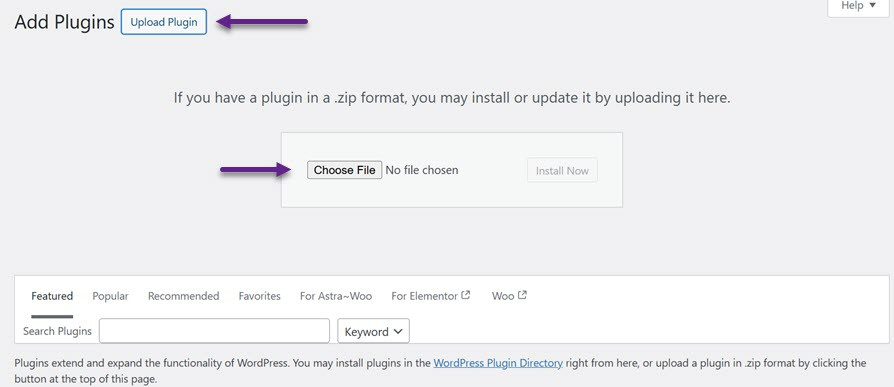
Then, click the Activate Plugin to display the WP Media Folder menu on the left sidebar.
Step 2: Create a new folder
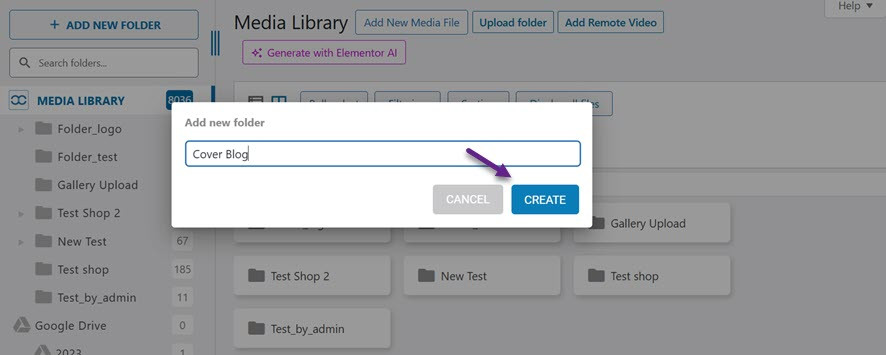
If it's successfully enabled, you can now start creating new folders. If you use the classic editor in WordPress, you only need to open the Media > Library menu. Then, in the top left corner, select + Add New Folder.
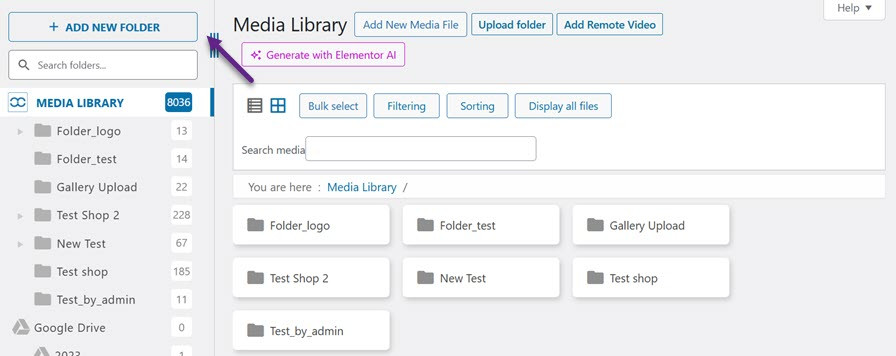
Then, enter the folder name you want to create and select Create.
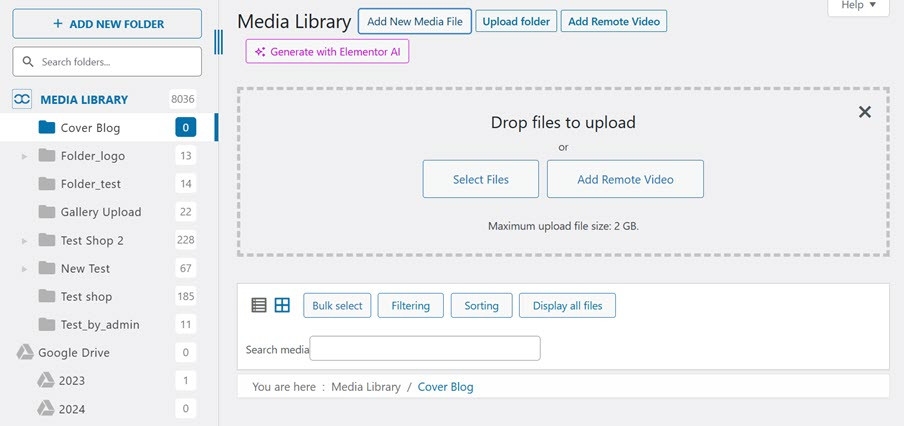
Step 3: Upload media file to a new folder
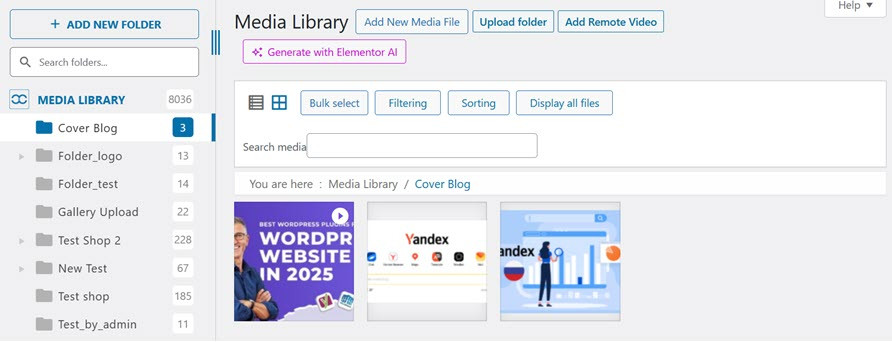
Now, a new folder has been created with the name "Cover Blog", then there are 3 options to upload media including:
- Add new media file
- Upload folder
- Add remote video
Select "Add New Media File" then "Select Files" then select the file you want to upload.
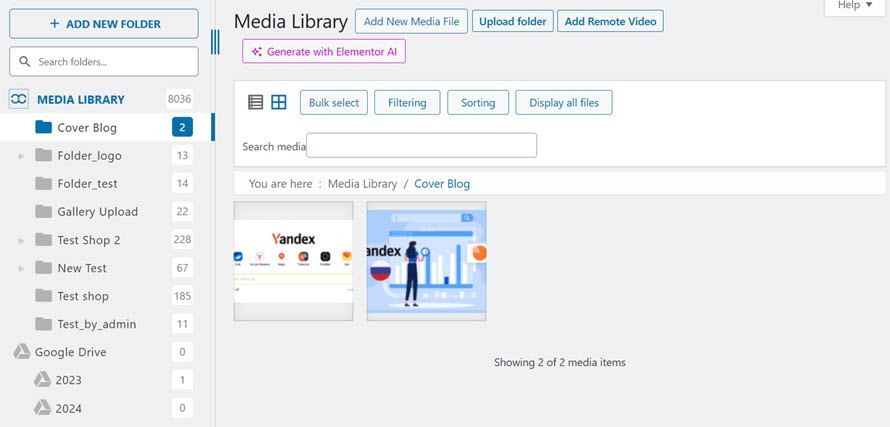
If the image is uploaded successfully, it will look like this.
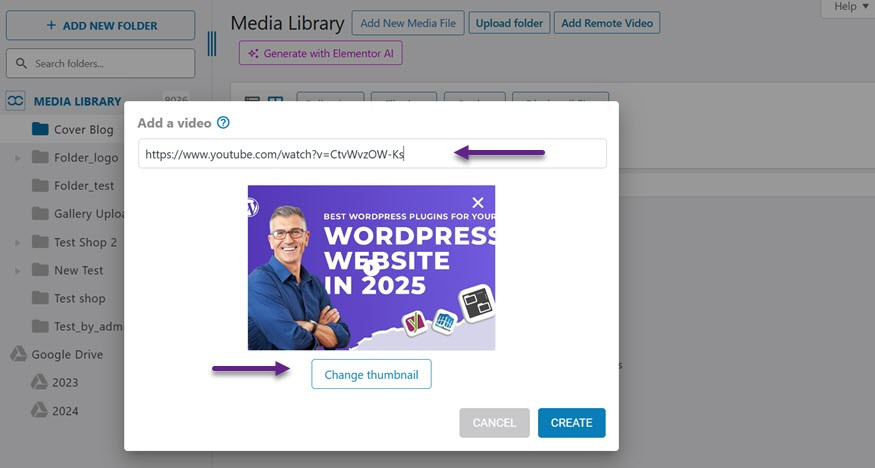
In addition to uploading media files through your local computer, you can add videos remotely by embedding YouTube videos through the link
Not only that, but you can also change the thumbnail and then select Create.
If the video is successfully added, it will appear as follows.
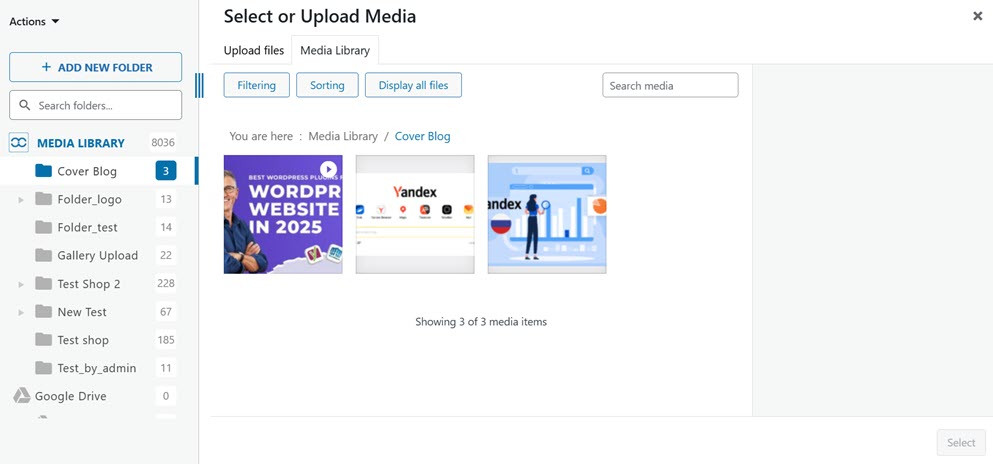
Step 4: Add file to post from folder
You can easily insert the file in the post or blog after adding the file to the folder. To add a block, select Image, then select Media Library. A display will appear like this.
Calling all webmasters!
Save time and boost productivity with WP Media Folder. Effortlessly organize client media
files, create custom
galleries, and provide a seamless user experience.
Upgrade your website projects now!
Conclusion
Creating folders in WordPress is a simple yet powerful way to organize your media library efficiently. A structured system lets you quickly find the files you need, streamline your workflow, and prevent unnecessary duplicate uploads. A well-organized media library enhances website management, making content updates faster and more manageable.
For those looking for the best solution, WP Media Folder offers an intuitive way to manage and organize your media files seamlessly. With advanced features like cloud storage integration, drag-and-drop organization, and real folder conversion, it's the perfect tool to enhance your media library. Try WP Media Folder today and experience hassle-free media management!
When you subscribe to the blog, we will send you an e-mail when there are new updates on the site so you wouldn't miss them.


Comments